“Real Cash & Rewards App” Documentation by “GetNetwok” v1.0
“Real Cash & Rewards App”
Created: 22/10/2016
By: GNS Ltd,
Email: info@gns.ma
Thank you for purchasing our code source. If you have any questions that are beyond the scope of this help file, please feel free to email via my user page contact form here. Thanks so much!
Table of Contents
- Getting Started
- App Configuration
- Admob Configuratoin
- Super Sonic (Required)
- ADXMI (Required)
- Web Panel
- Build & Publish
A) Getting Started - top
Android Studio Project
Before starting to use Android Studio source code and developing app you need to first install the following softwares to your computer. If you have already installed these softwares you can skip this step.
- Install Java JDK
- Install Android Studio
- Now you should be able to open/edit the Android project and build APK
B) App Configuration - top
Configuration
This chapter describes how to configure the project to be ready for publishing. All these steps are very important!
1. Import
Unzip the package and import/open the project
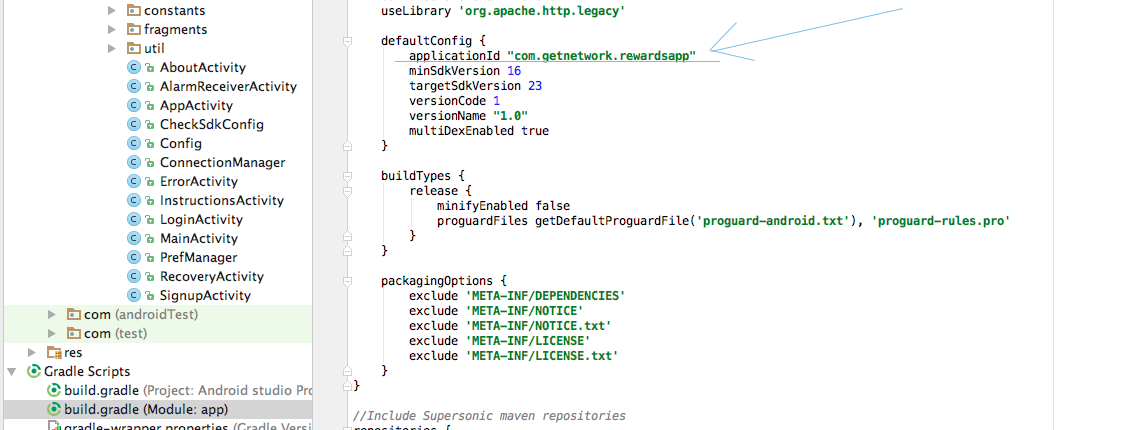
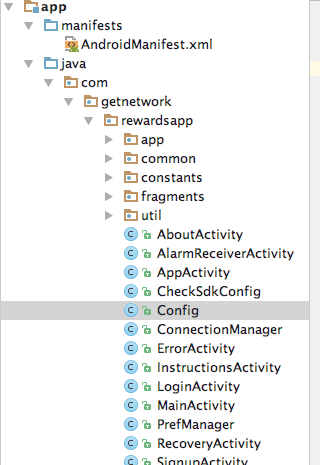
2. Change Package Name
Rename all occurances of the package com.getnetwork.rewardsapp to you desired package Name ie., com.example.gns .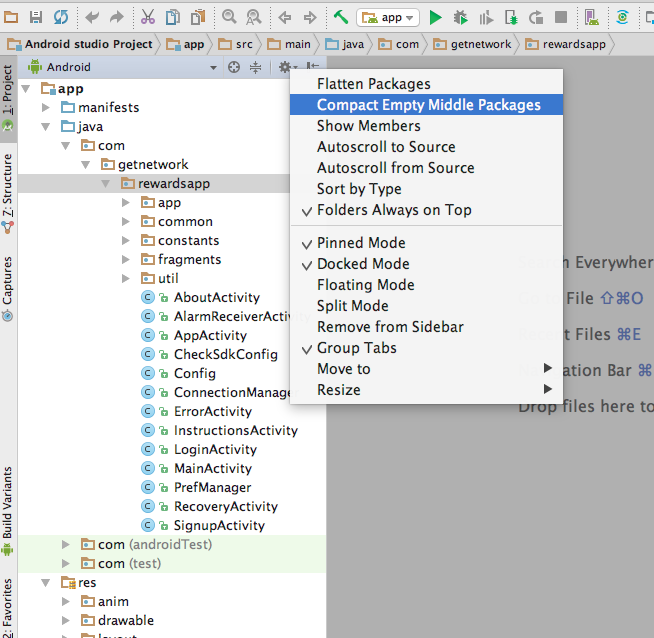
and here : change It to your package, Go to : Gradle Scripts -> build.gradle
3. Change Application Name
App Name: Go to res/values/ directory and edit strings.xml file.
To change App name: Enter the name in the below string.
<string name="app_name">Real Cash</string>

4. Create Launcher Icon
Replace ic_launcher_realcash.png file in mipmap-mdpi, mipmap-hdpi, mipmap-xhdpi, mipmap-xxhdpi directories. See Android Cheatsheet for Graphic Designers for correct launcher icon dimensions.
Replace yourlogohere.png file in drawable ,
Replace logoscreen.png file in drawable for splashscreen,
- Replace ic_launcher_realcash.png
- Replace logoscreen.png
- Replace yourlogohere.png
- Sign into your AdMob account.
- Click on Monetize tab.
- Select or Create the app and choose the platform.
- Select the ad format either Banner or Interstitial and give the ad unit a name.
- Once the ad unit is created, you can notice the Ad unit ID on the dashboard. An example of ad unit id look like ca-app-pub-0664570763252260/3326342137 - And for Admob Rewarded Video Ad: the same steps until selecting ad format, then choose "Rewarded Video" to get the ad unit ID (Click HERE for more details).
- Open WebPanel->Rewards App folder and Put the Rewards App folder on your host server (with php & mysql support)
- Create a database and Note the Database Name, Database User, Host and Database Password
- Open Web Panel->Rewards App Folder and Edit config/config.php File and change the MYSQL Connection with your access.
- Change all the data on config.php where Required
- After changing the values, you can Navigate to http://your-domain.com/install.php and create an Admin Account... all data tables are Created automatically.
- Note : Only if you are updating from v1.0 to v1,1 then you probably need to open http://your-domain.com/update.php and Create an admin Account
- Set your your URL like http://rewardsapp.gns.ma/ URL on the Base_Url value.
- Do Not Edit Req_Url as it required to receive requests from the app users.
- First make sure that Lint Errror checking has been turned off. To do that go to Preference -> Android
- Select Lint Error Checking
- Uncheck the "Run full error checking when expoting app"
- Click on apply then OK
- Left click on the project and go to Android Tools
- Click on the "Export Signed Application"
- Create a new keystore
- Set the password
- Set you alias
- Select the location of where to save the apk
Another possibility is to create launcher icons using Android Asset Studio.
Important: ic_launcher_realcash.png is the launcher icon and logoscreen.png is the app splash logo/image.
6. Setup Google Analytics
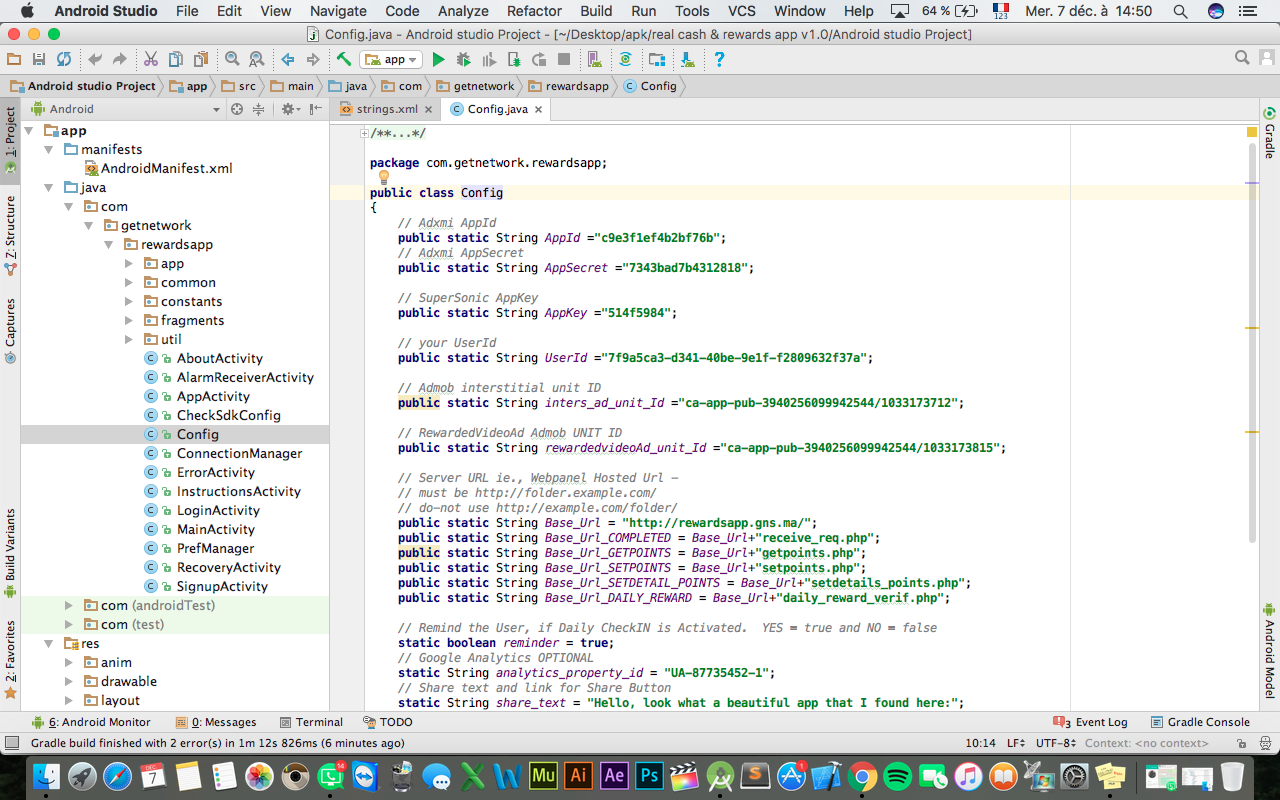
Edit configuration file Config.java file and change UA code.

7. Everything Else
Edit configuration file Config.java file and change your Required string data.
like ..,
Share Text, About Text...e.t.c.,
C) Admob Configuratoin - top
Android Side :
Edit configuration File Config.java and change Admob - inters_ad_unit_id and rewardedvideoAd_unit_id.

Edit String File String.xml and change Admob - banner_ad_unit_id.

D) SUPER SONIC (Required) - top
Note: To use SuperSonic you must create your account on SuperSonic website. Go to this link:https://platform.supersonic.com/partners/signup
and create an app with your required settings and get AppKey on SuperSonic Website.
Note: You Need Additional UserId to Proceed,, See HERE to get UserId.
Android Side :
Edit configuration File Config.java and change SuperSonic - AppKey and UserId.
SuperSonic Configuration : (Required)
SuperSonic Website Configuration includes app settings and Exchange conversion rate for points to currency..E) ADXMI - top
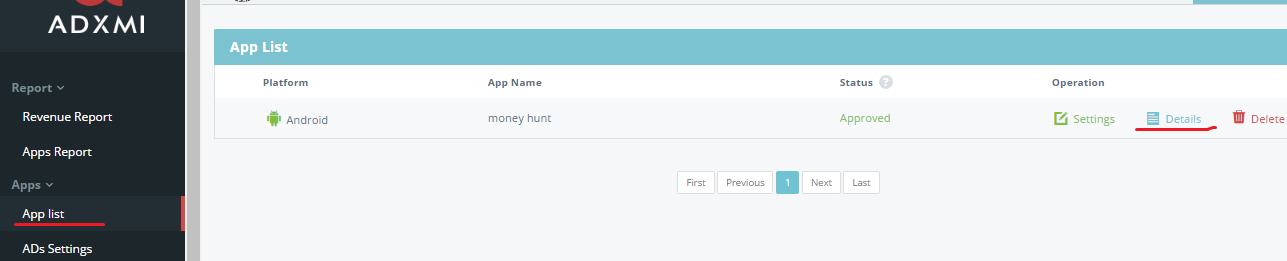
Creating ADXMI Account *Required
Note: To use ADXMI you must create your account on Adxmi website. Go to this link:
https://www.adxmi.com/account/signup and create an app with your required settings and get AppId and AppSecret on ADXMI Website.
ADXMI - GET AppId and AppSecret.
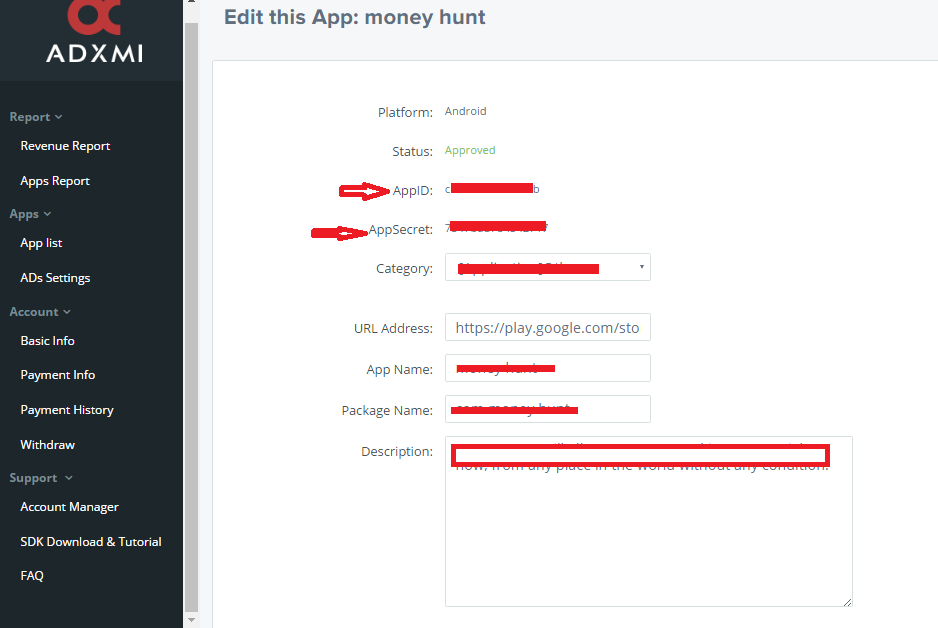
Android Side :
Edit configuration File Config.java and change ADXMI - AppId and AppSecret.

E) Web Panel - top
Note: You will find the Webpanel zip inside the project file, purchase code is Required to have it!
1. Web Server Side :
2. Android Side :
Edit Configuration File Config.java
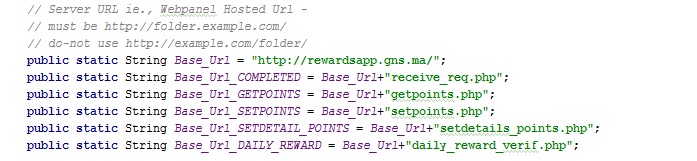
Note: You should use first/second level domain..like this..
http://rewardsapp.gns.ma
you should not use like this,,
http://gns.ma/folder
G) Build & Publish - top
Building & Publishing
A unique signed application needs to be sent to the playstore. To do that:
That's it.
Config
Once again, thank you so much for purchasing this theme. As I said at the beginning, I'd be glad to help you if you have any questions relating to this theme. No guarantees, but I'll do my best to assist. If you have a more general question relating to the themes on ThemeForest, you might consider visiting the forums and asking your question in the "Item Discussion" section.